Configure VSCode Environment
Configure VSCode Environment
Open Visual Studio Code on your personal computer.
- Select the Extensions icon or use the shortcut Ctrl + Shift + X to open the Extensions interface.
- Search for
Remote SSH, select Remote - SSH and Remote - SSH: Editing Configuration Files. - Install these extensions on your personal computer.
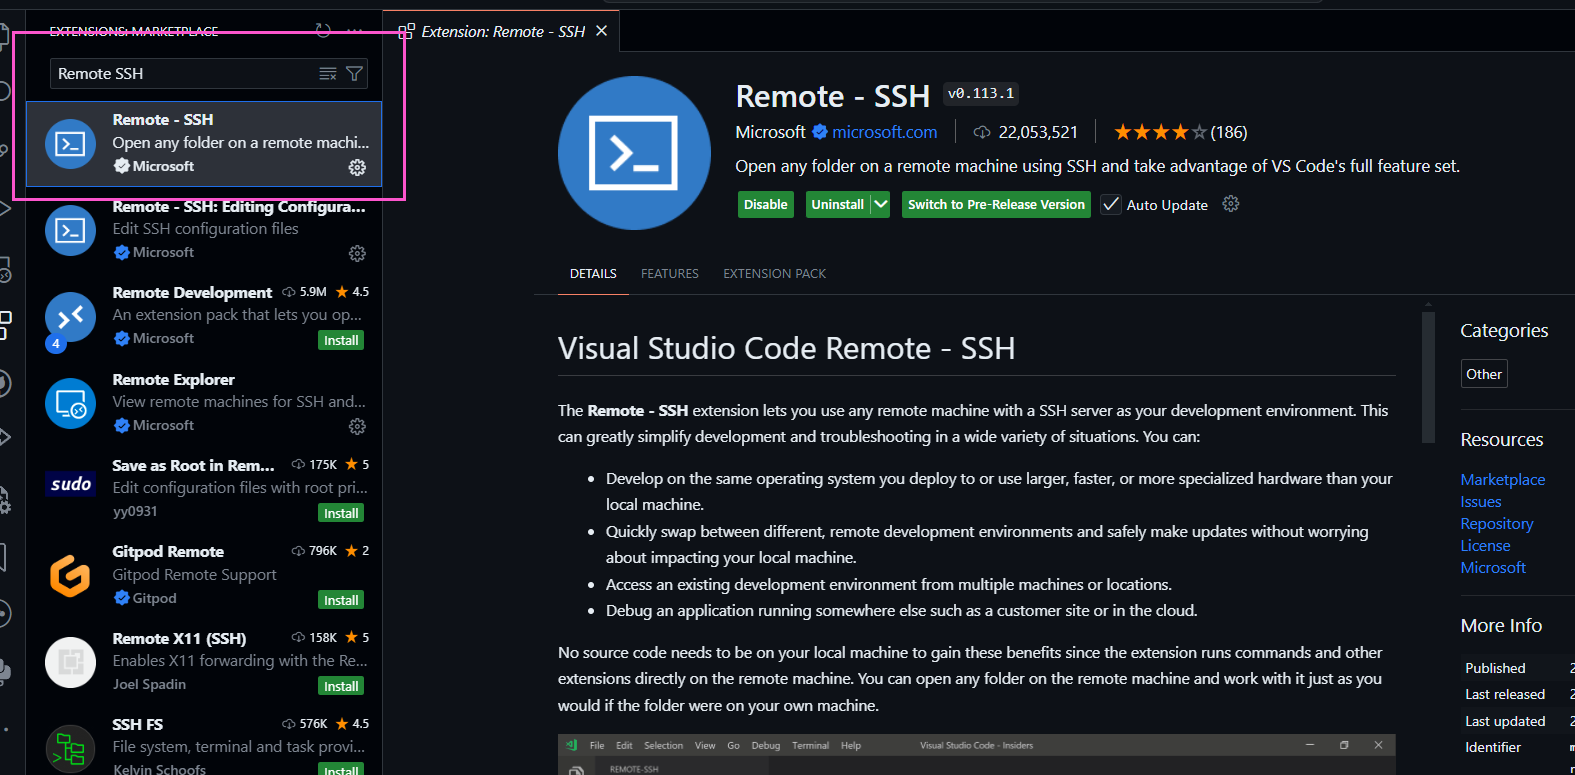
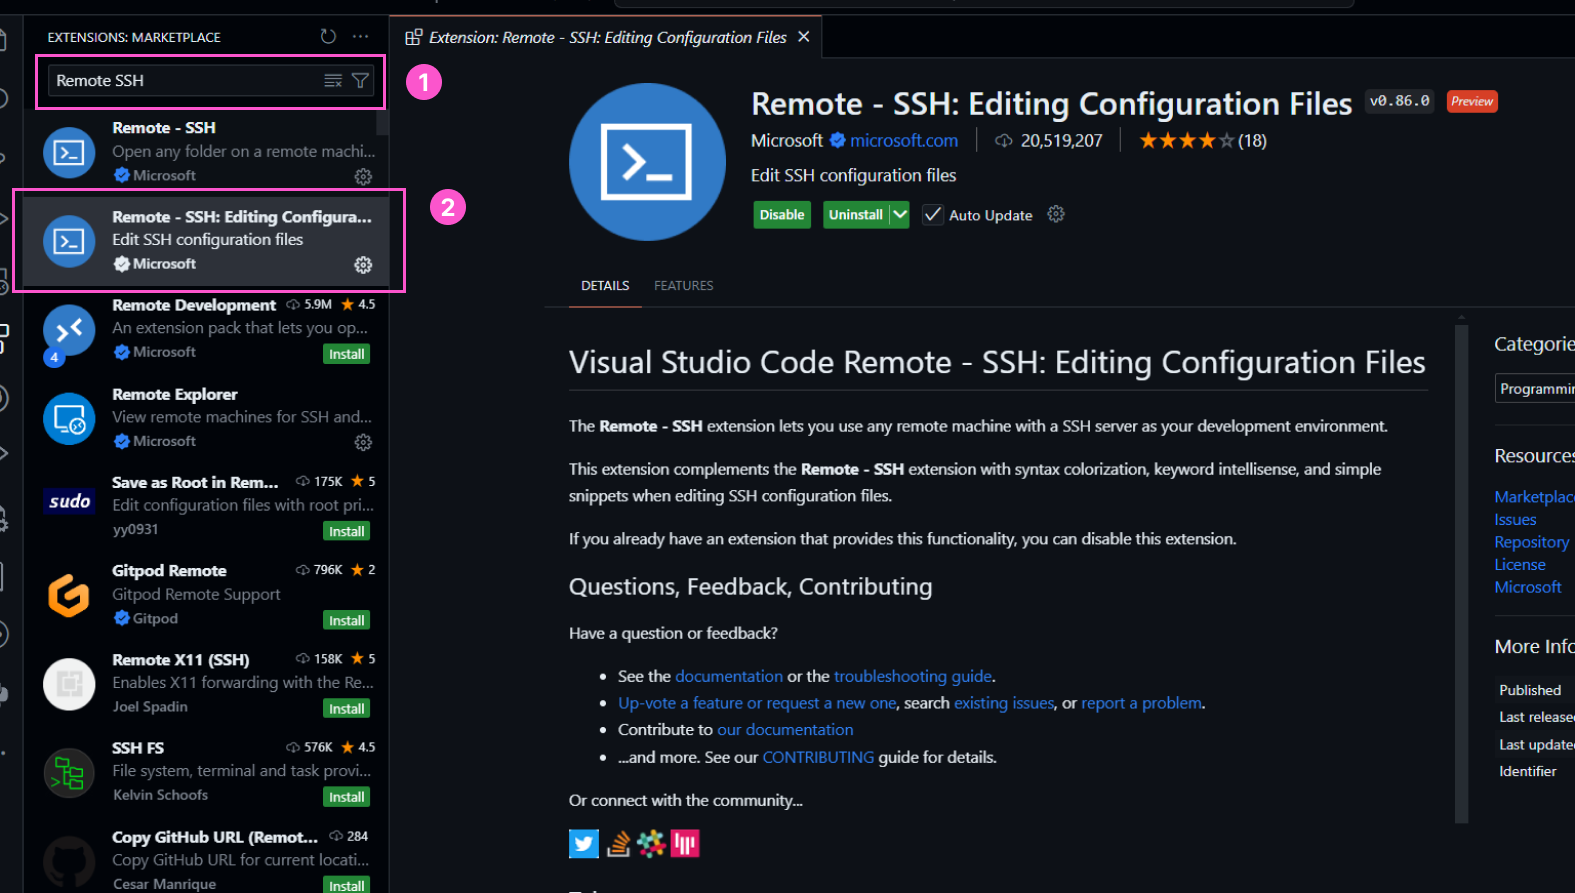
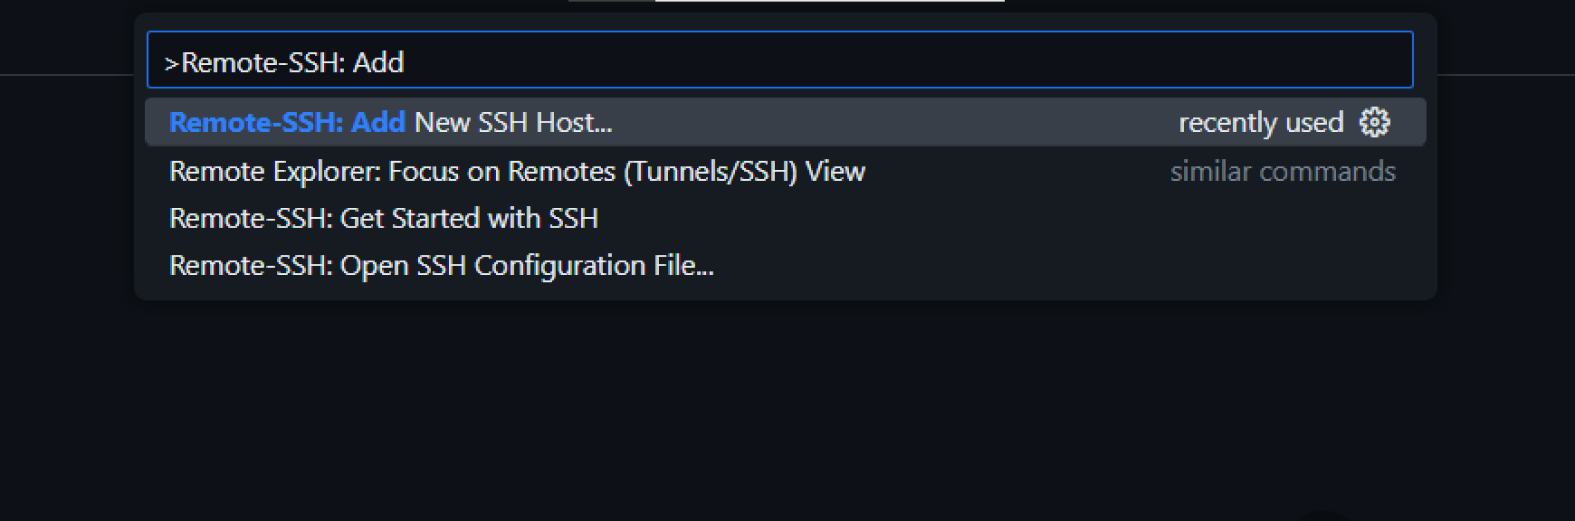
After the installation is complete, open the Command Palette using the shortcut
Ctrl + Shift + P.- Search for
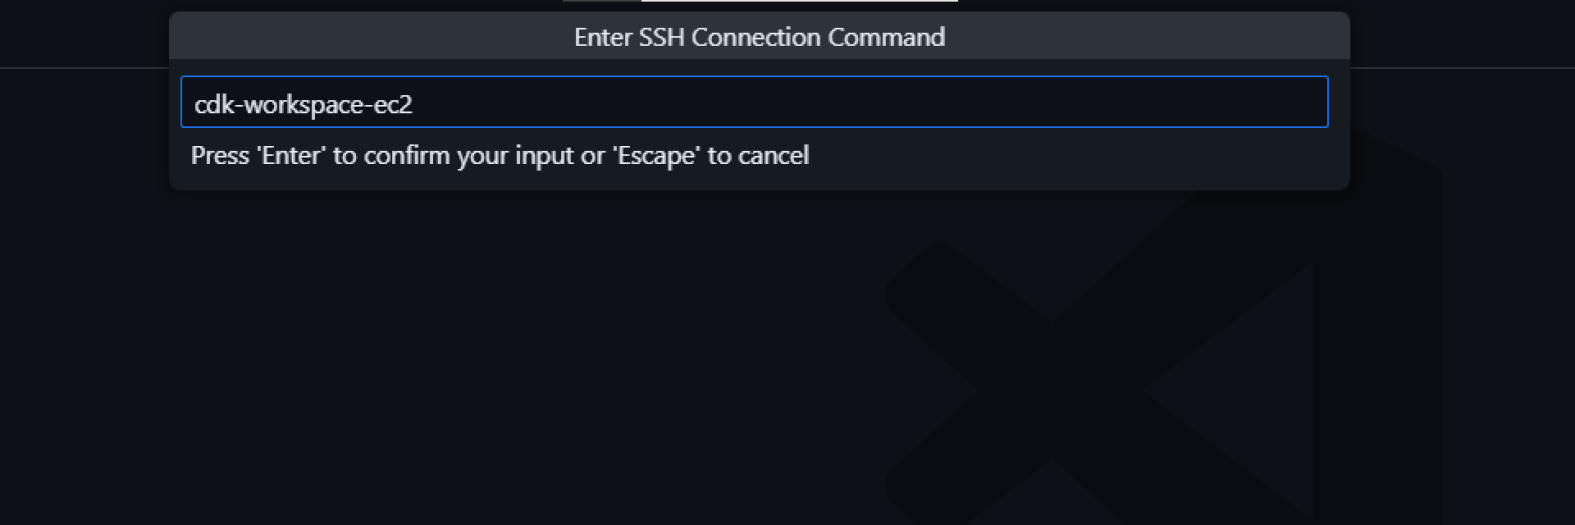
Remote-SSH: Add New SSH Host. - Enter
cdk-workspace-ec2 - Select C:....ssh\config to open the SSH configuration file.
- Search for
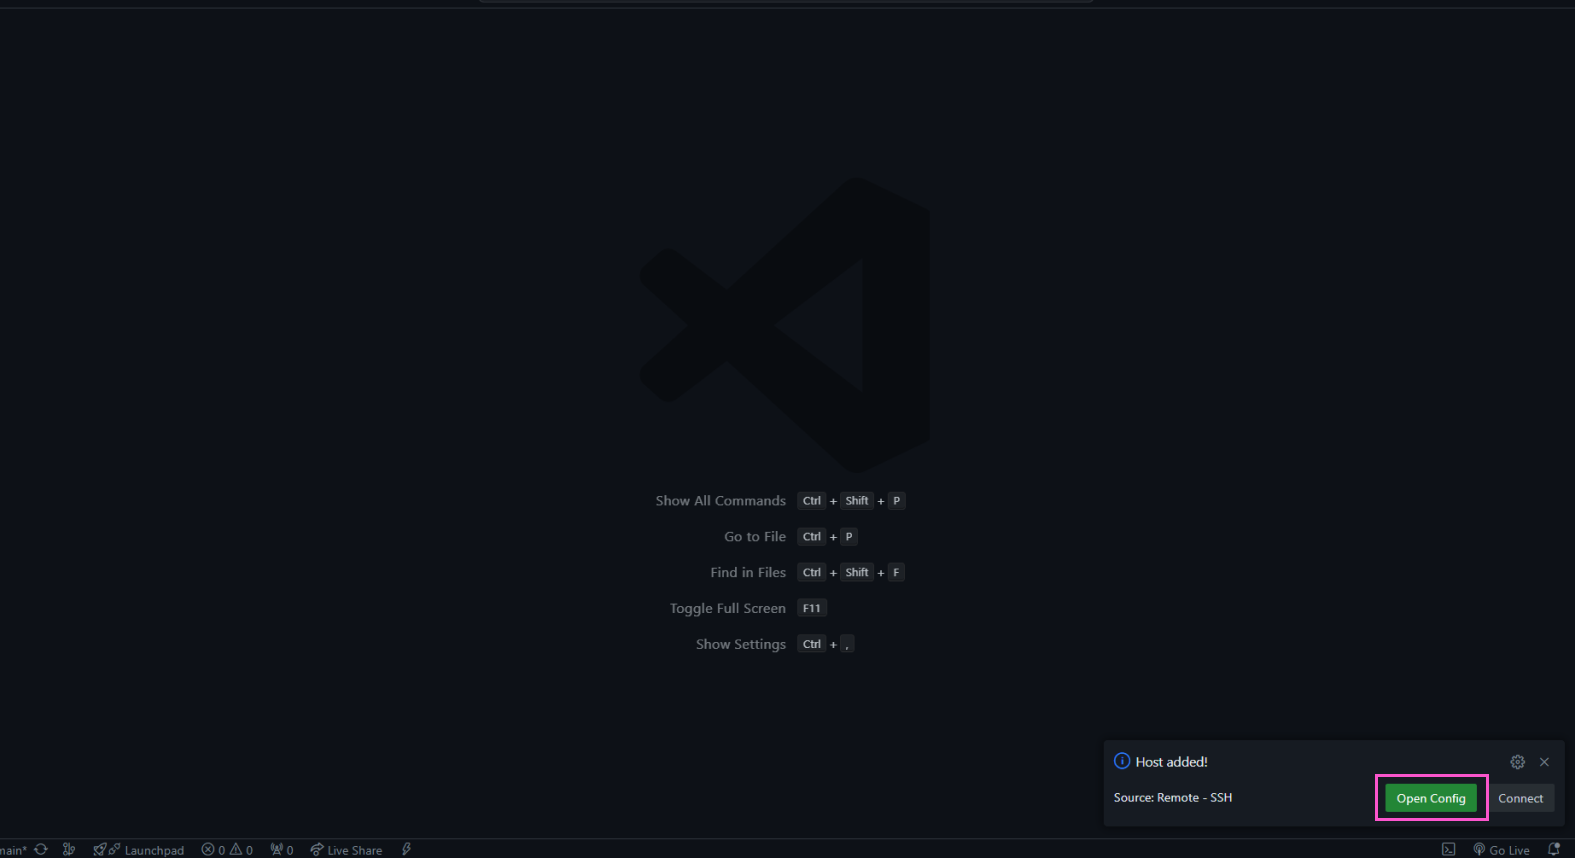
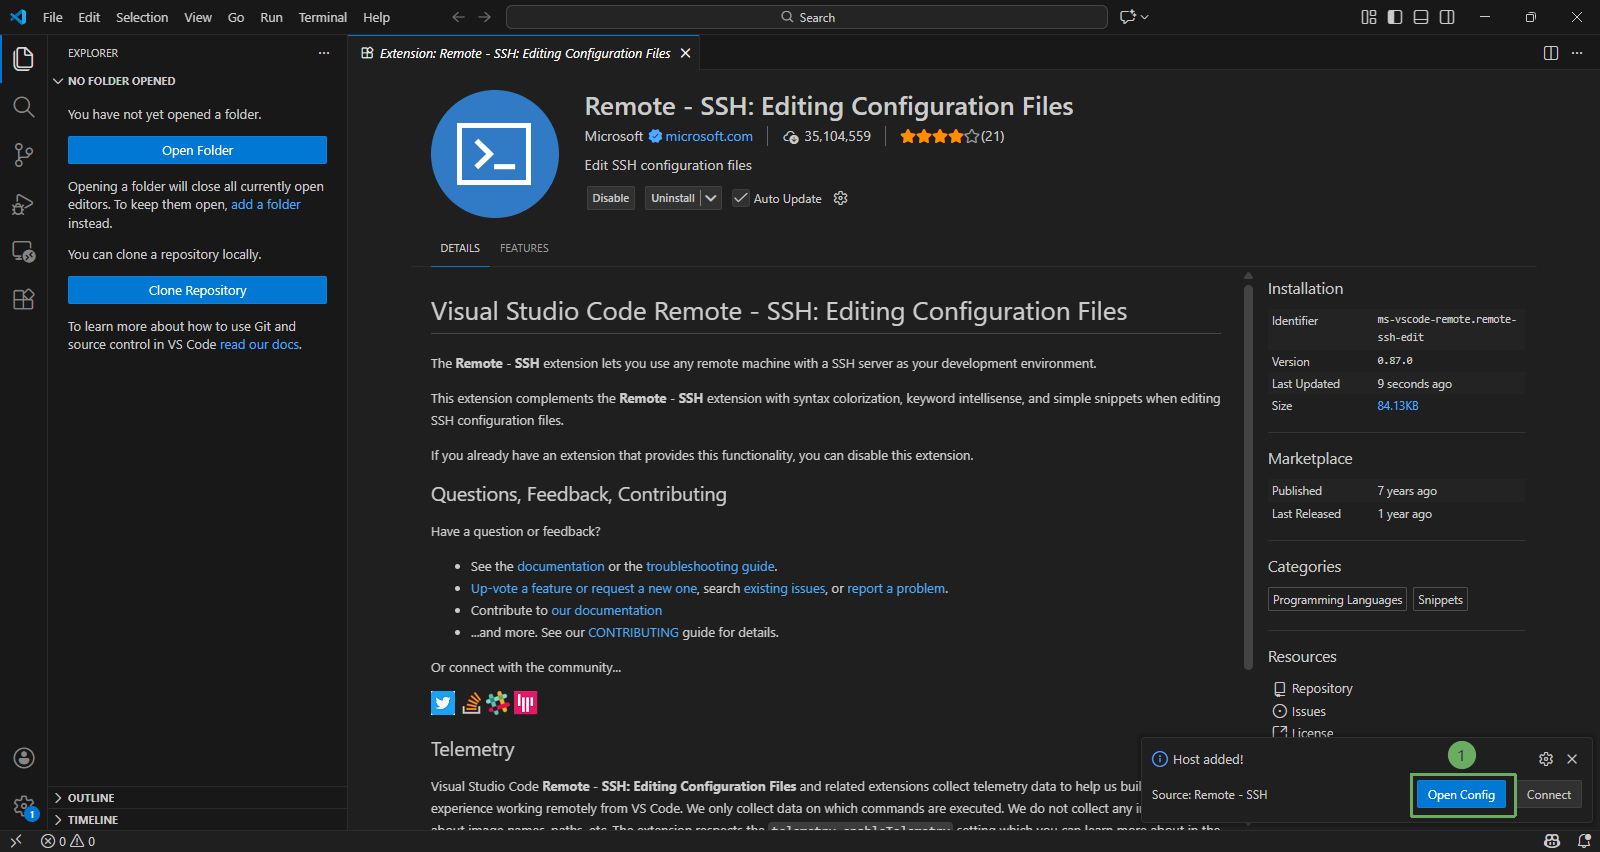
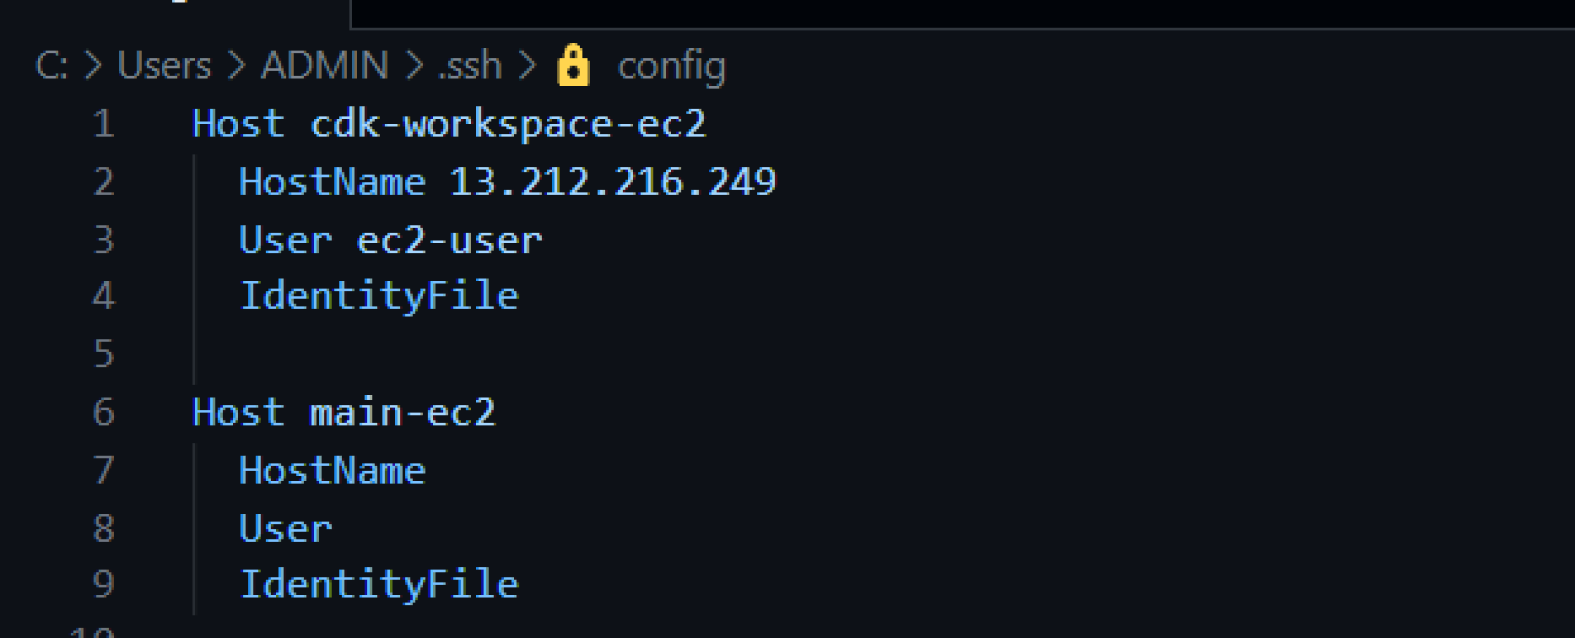
The SSH Host configuration looks like below. Replace x.x.x.x and the path to the key file with your actual values:
Host cdk-workspace
  HostName x.x.x.x
  User ec2-user
  IdentityFile D:\path\to\private-key.pem
Connect to the EC2 server you just created.
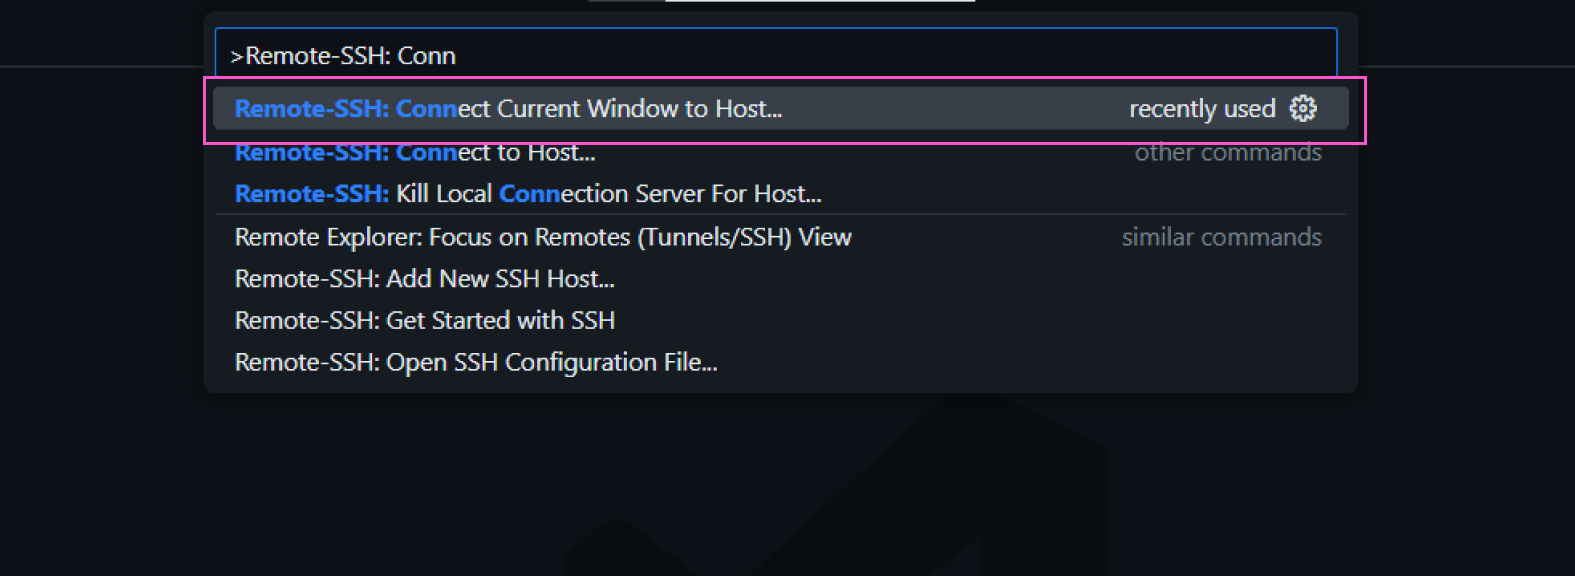
- Search for
Remote-SSH: Connect Current Window to Host. - Select the
cdk-workspaceserver. - Select Linux.
- Select Continue.
- Search for
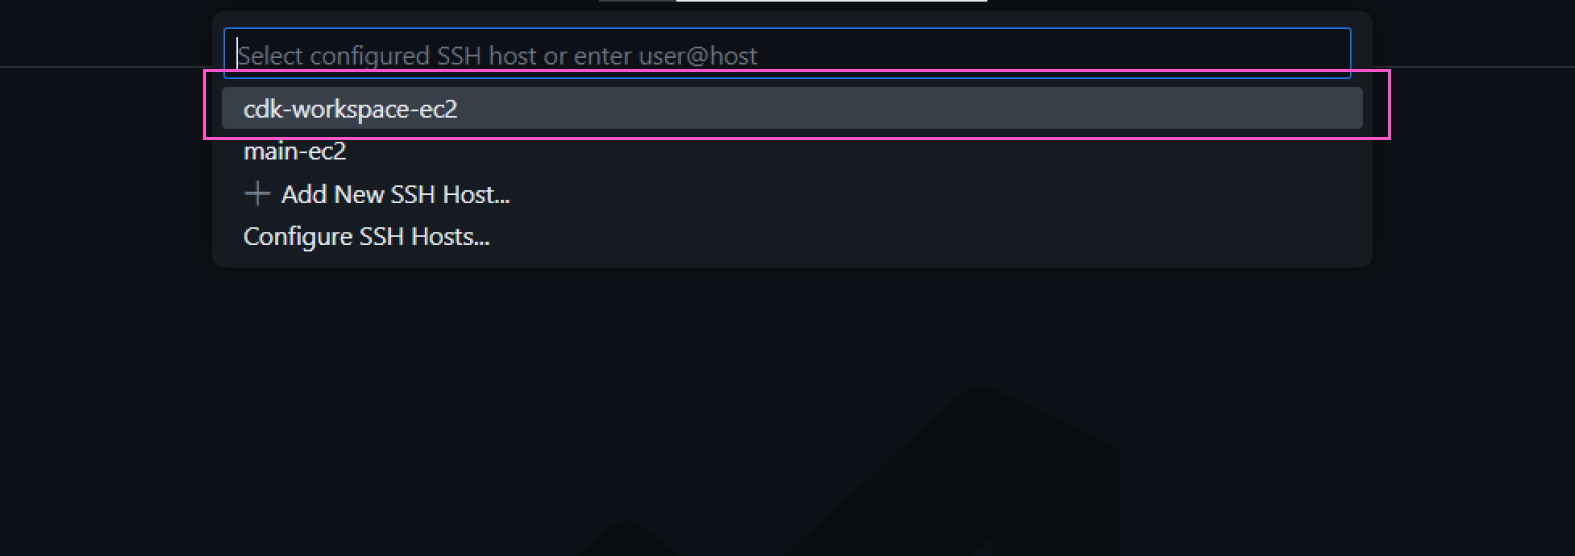
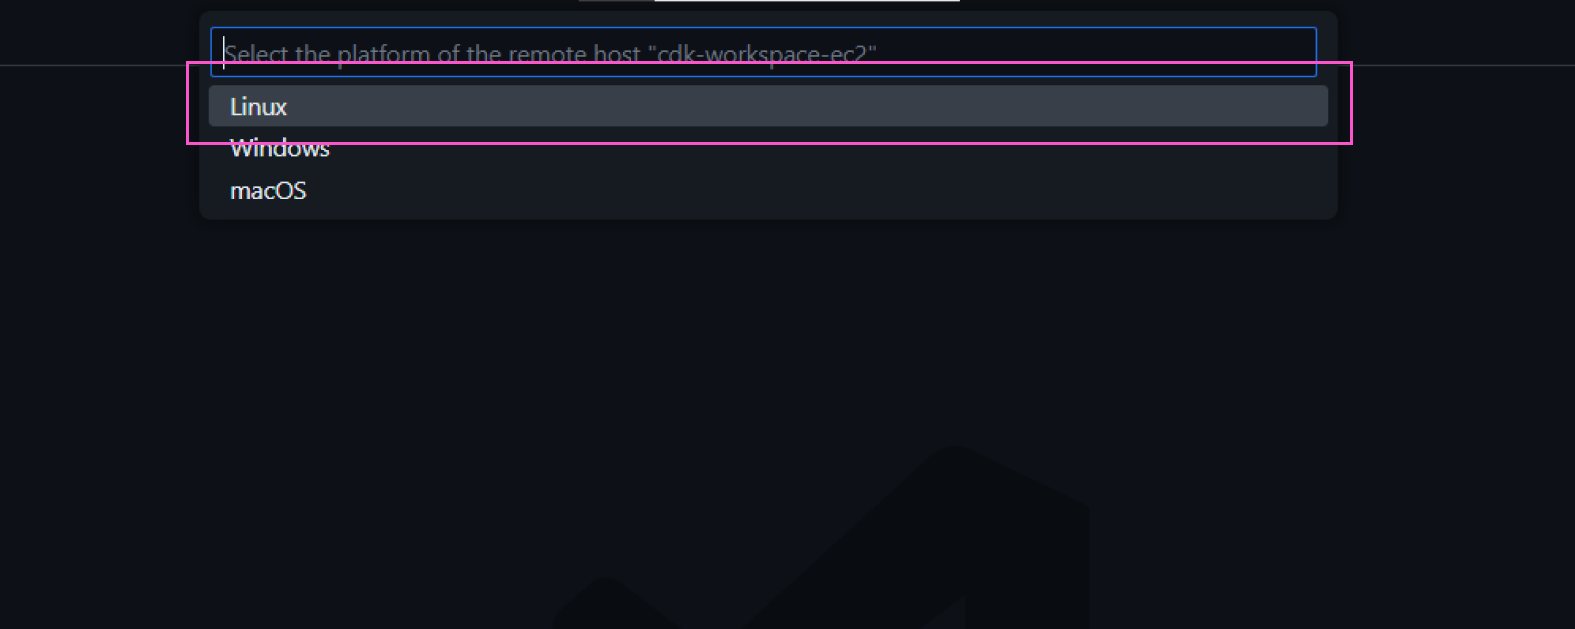
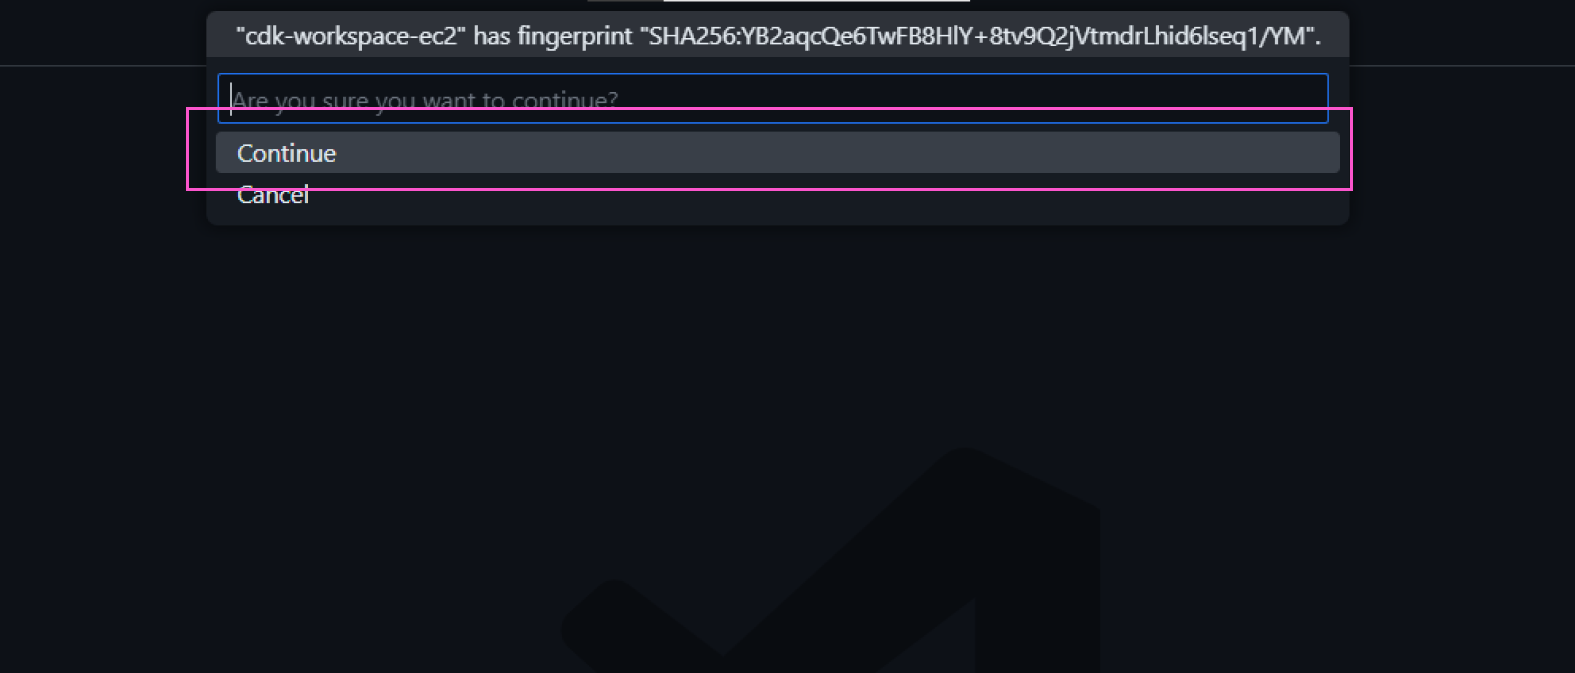
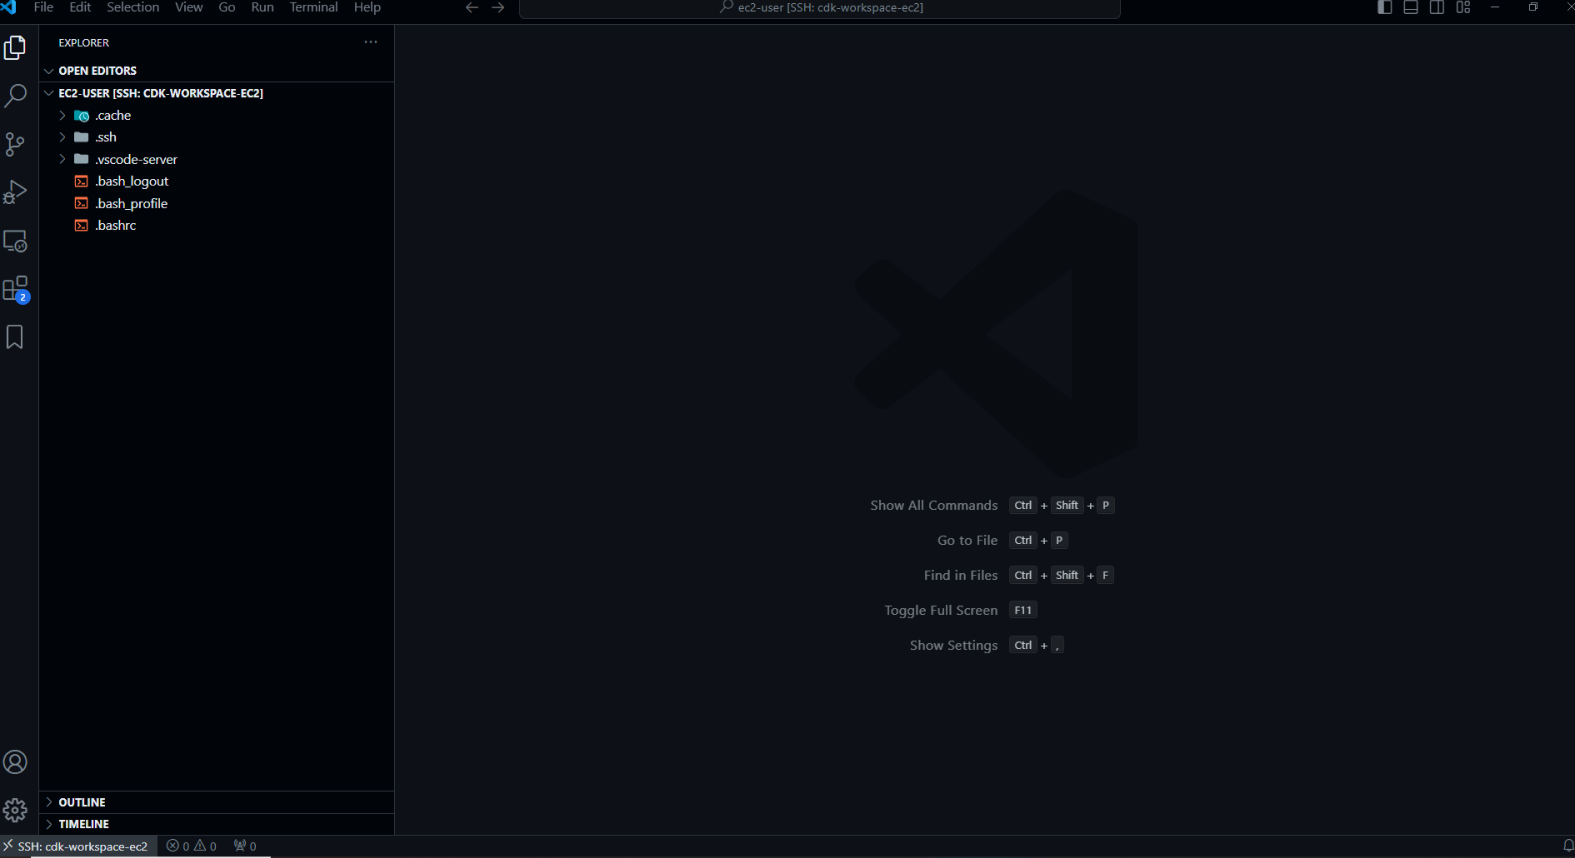
After a few seconds, the connection will be established. You can open folders on EC2 in VSCode.
- Open the working directory on the EC2 server in VSCode.
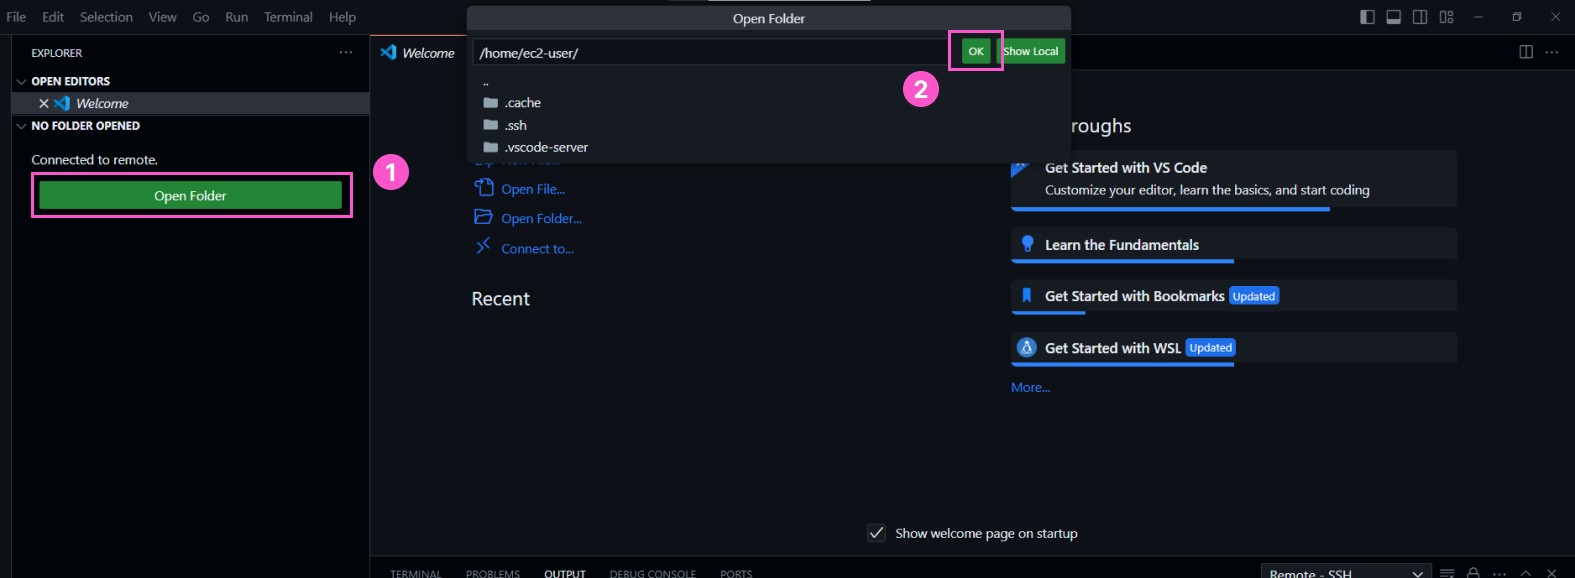
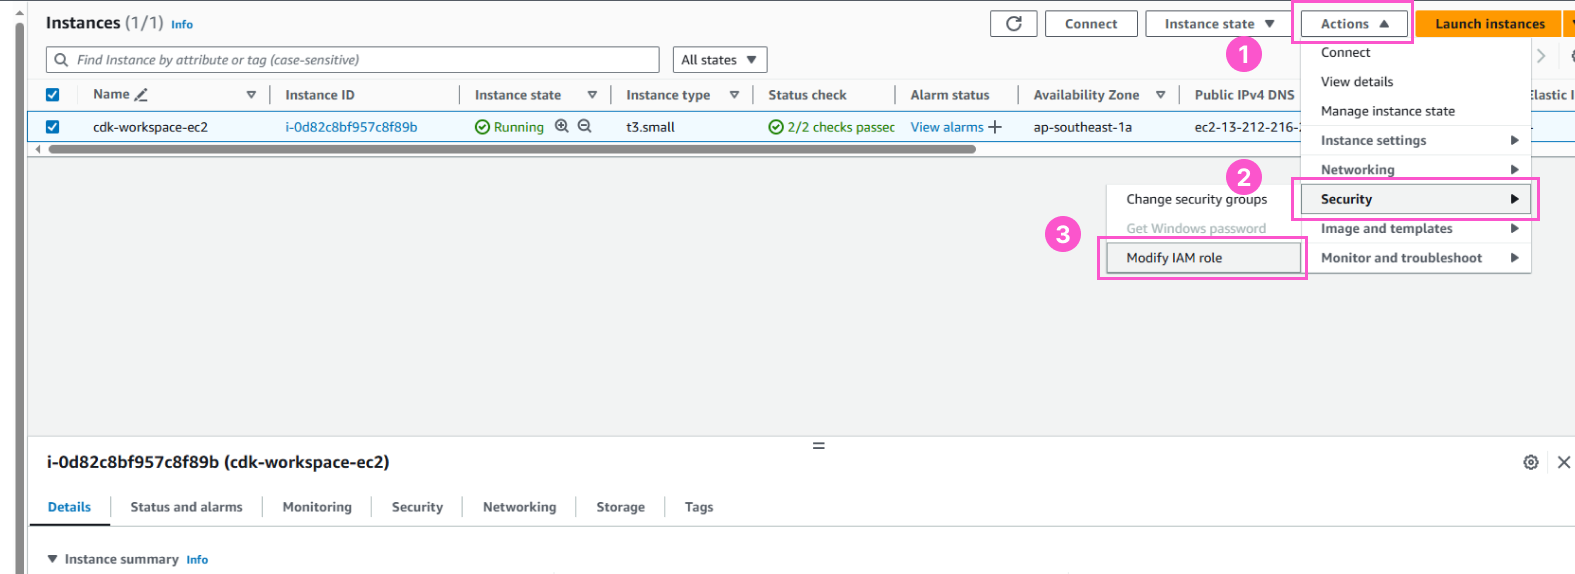
Attach the IAM Role created in the previous step to the EC2 instance. In the EC2 interface, open Actions:
- Select Security.
- Select Modify IAM role.
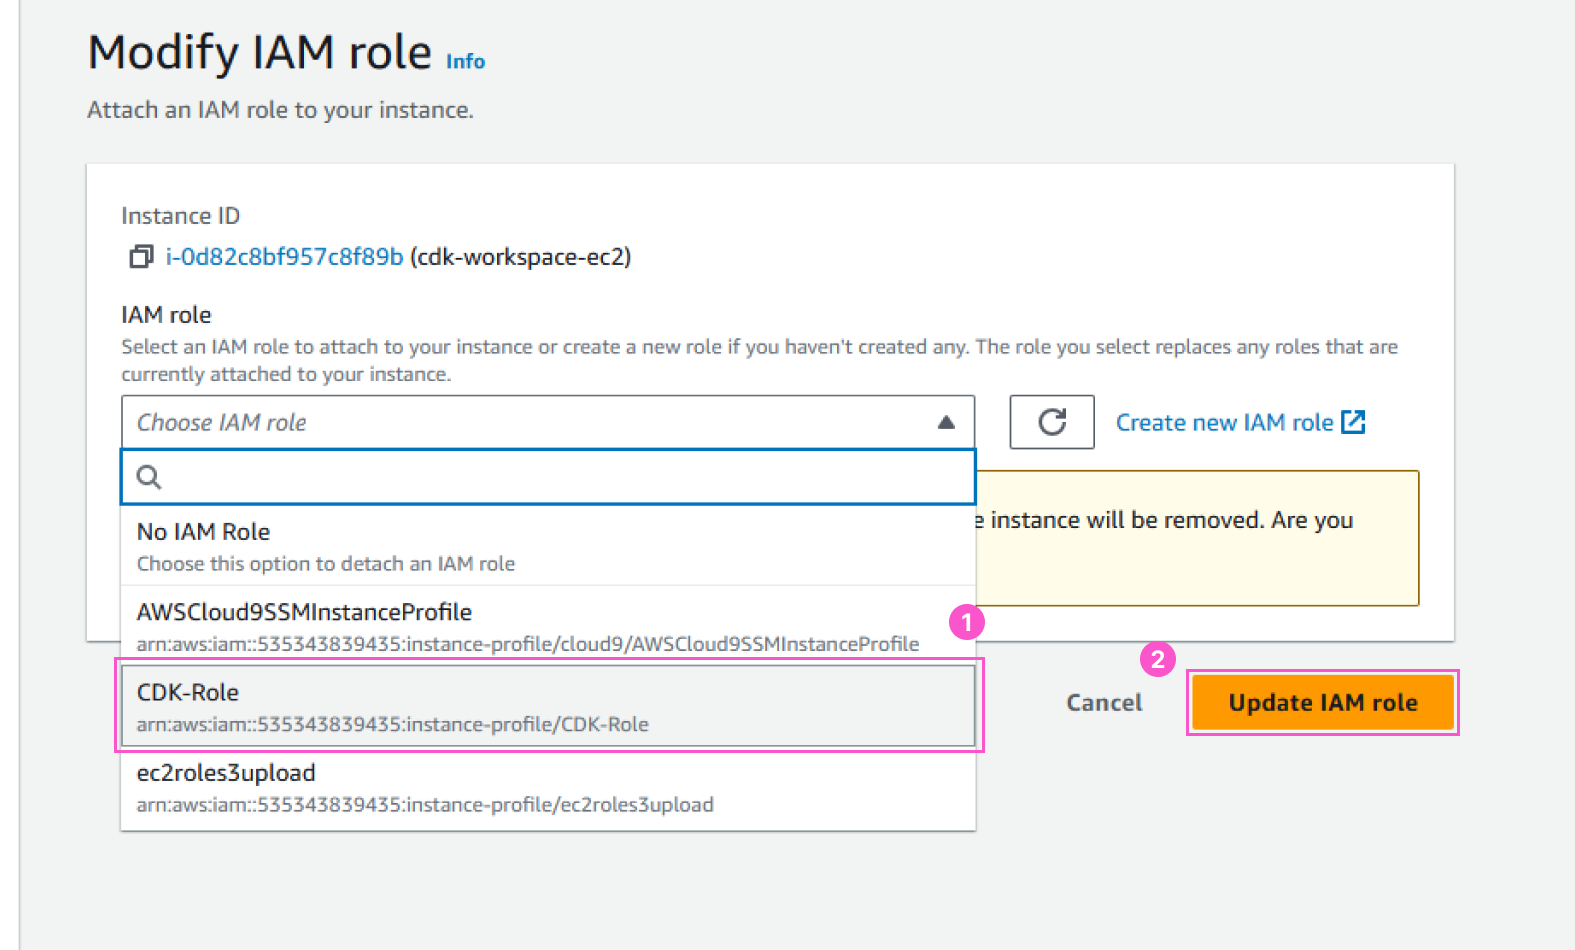
- Select the IAM Role named
CDK-Role.
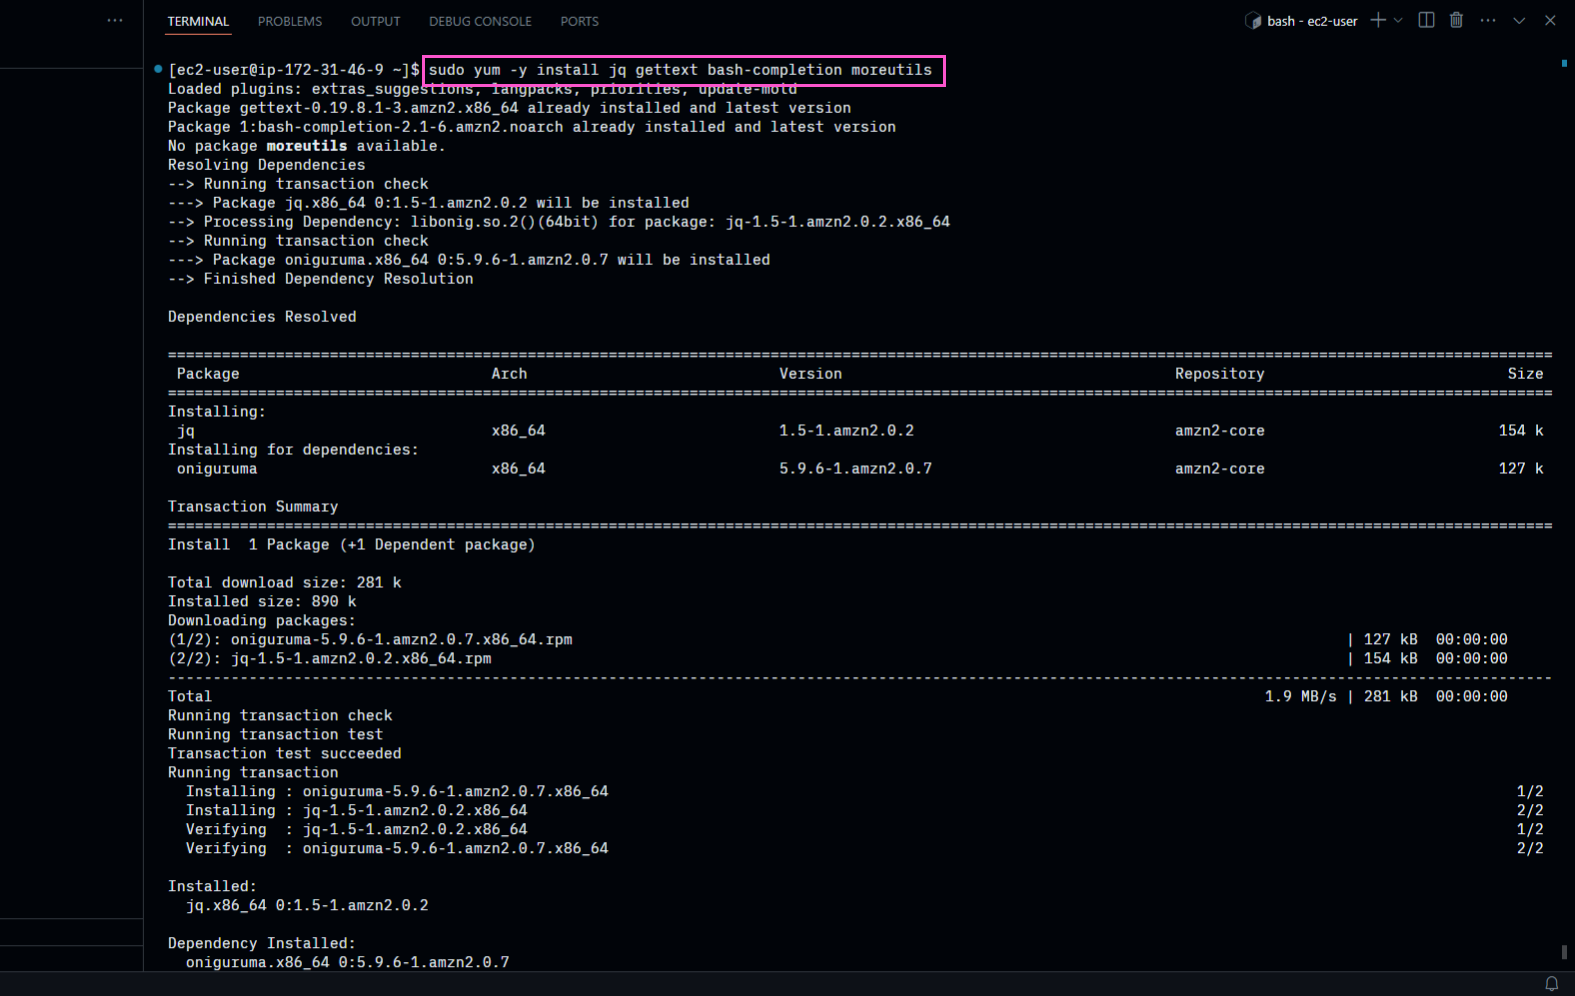
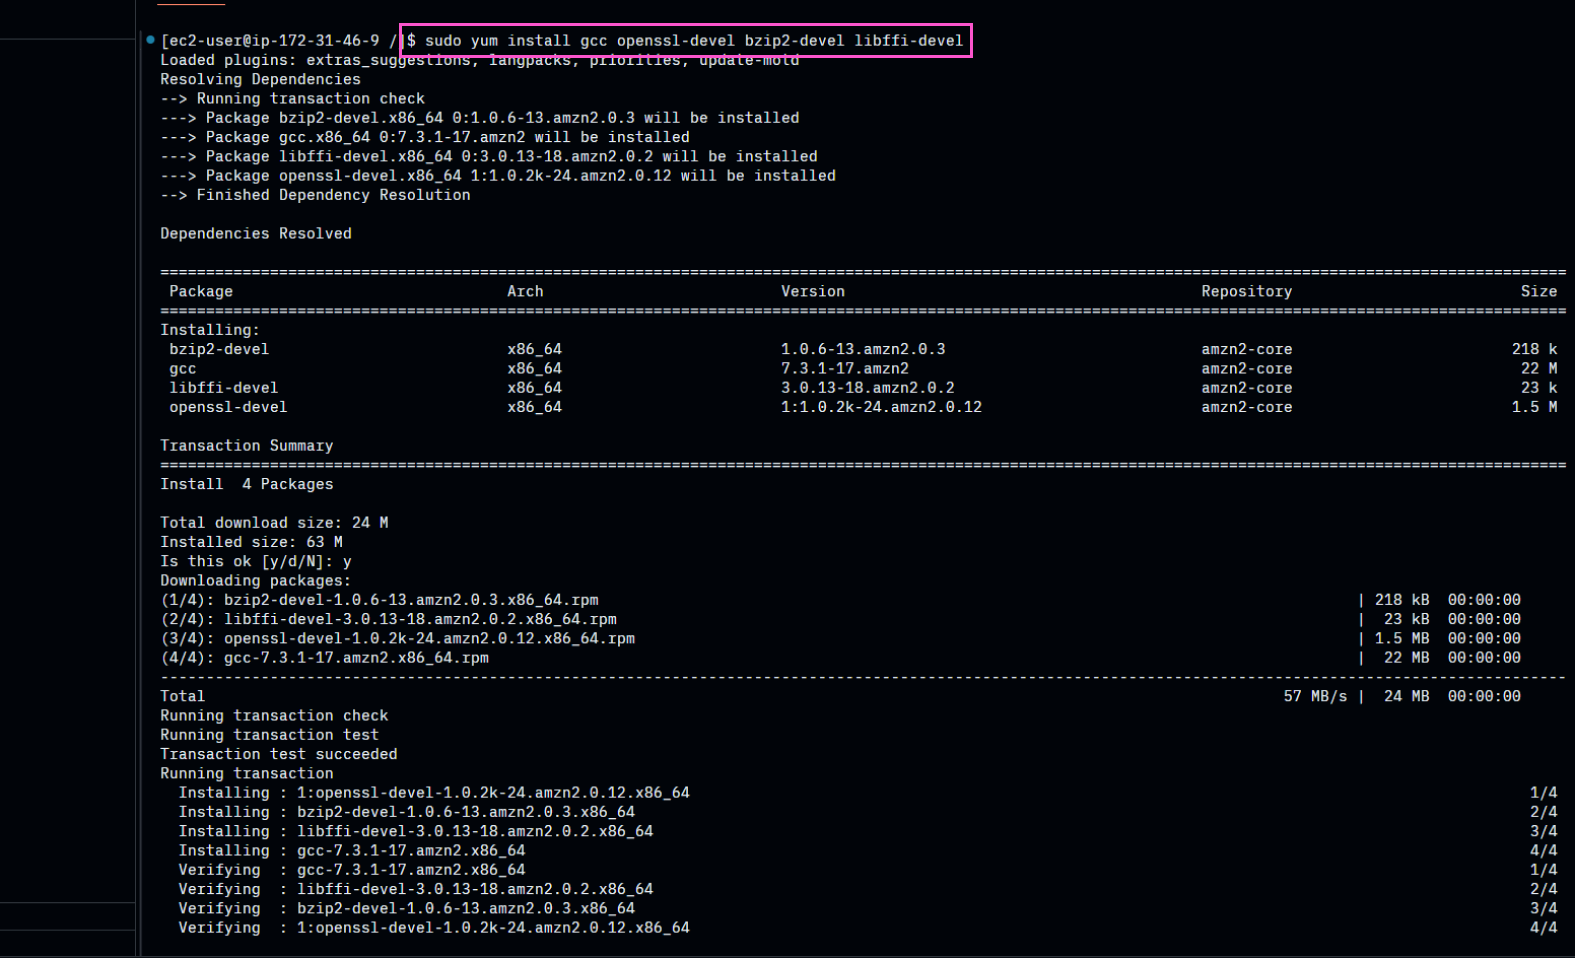
- Open the VSCode Terminal and install utilities and libraries necessary to compile Python on Amazon Linux 2023.
Amazon Linux 2023 uses dnf. The package list below only includes the essential components for the workshop: git to initialize the CDK project, jq to read metadata, and minimal development libraries so Python has ssl, pip (download over HTTPS), ctypes, compression, and sqlite3.
sudo dnf install -y \
  git jq bash-completion wget tar make gcc \
  openssl-devel bzip2-devel libffi-devel zlib-devel \
  xz-devel readline-devel sqlite-devel
Amazon Linux 2023 comes with AWS CLI v2 pre-installed, so there is no need to reinstall it. If you need to check, run aws --version.
- Install Python
3.14.7and pip.
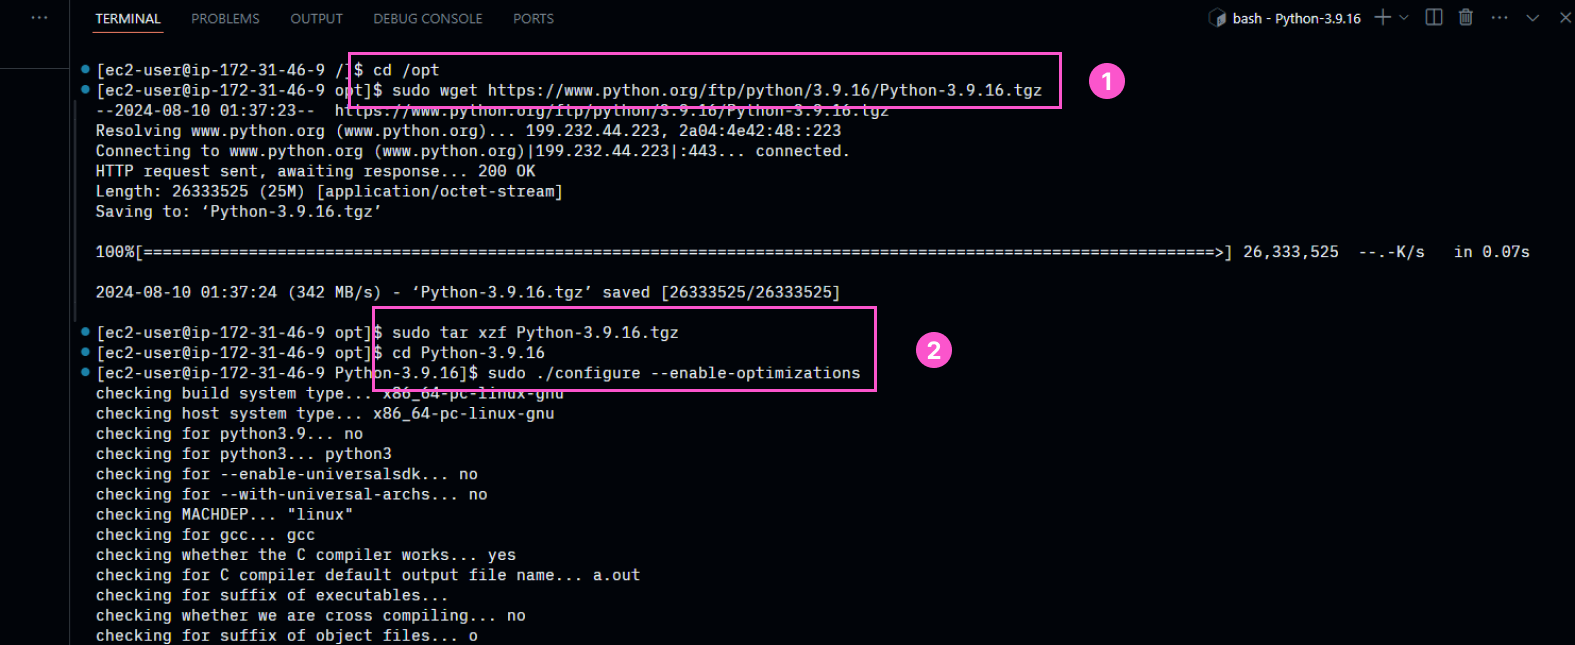
Use a version variable so download and extraction commands always use the same Python version. Download the source into /tmp so you don’t need to write directly to the /opt system directory.
export PYTHON_VERSION=3.14.7
cd /tmp
wget https://www.python.org/ftp/python/${PYTHON_VERSION}/Python-${PYTHON_VERSION}.tgz
tar xzf Python-${PYTHON_VERSION}.tgz
cd Python-${PYTHON_VERSION}
Configure and compile Python. The --with-ensurepip=install option installs pip along with Python; altinstall prevents overwriting the Amazon Linux 2023 system Python.
./configure --with-ensurepip=install
make -j"$(nproc)"
sudo make altinstall
Verify the correct interpreter and pip were just installed:
python3.14 --version
python3.14 -m pip --version
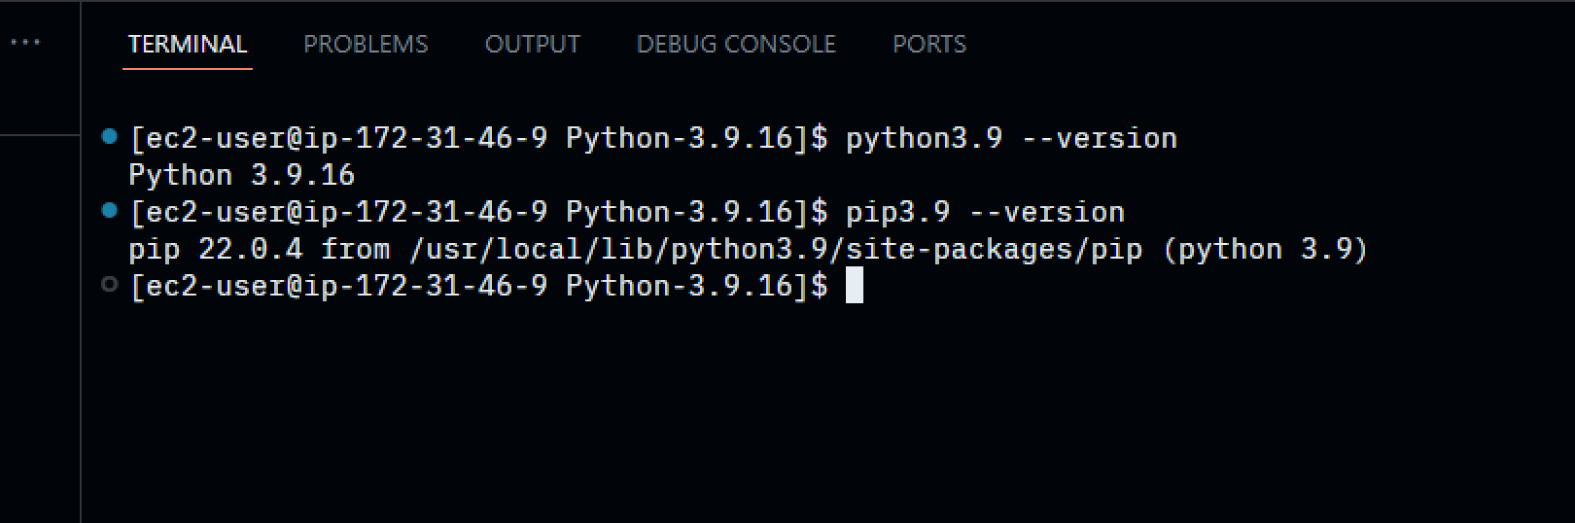
AWS CDK supports Python 3.14. Always use python3.14 -m pip instead of calling pip directly to ensure packages are installed into the correct interpreter.
- Install
cfn-lintto check CloudFormation/CDK templates.
Create a separate virtual environment for cfn-lint. This approach avoids modifying system packages and ensures cfn-lint runs on Python 3.14:
python3.14 -m venv ~/.venvs/cfn-lint
source ~/.venvs/cfn-lint/bin/activate
python -m pip install --upgrade pip
python -m pip install cfn-lint
cfn-lint --version
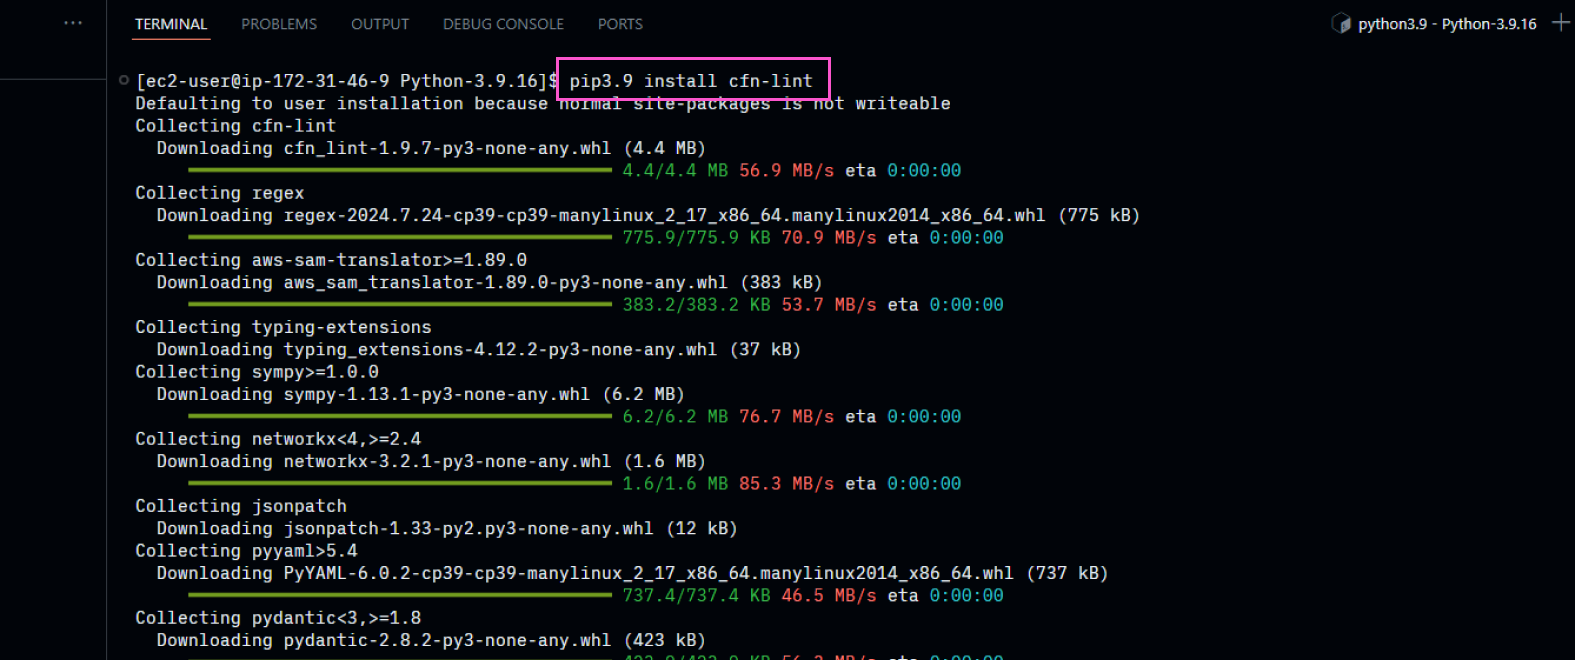
After checking, exit the cfn-lint venv to avoid confusion with the CDK project’s virtual environment in later sections:
deactivate
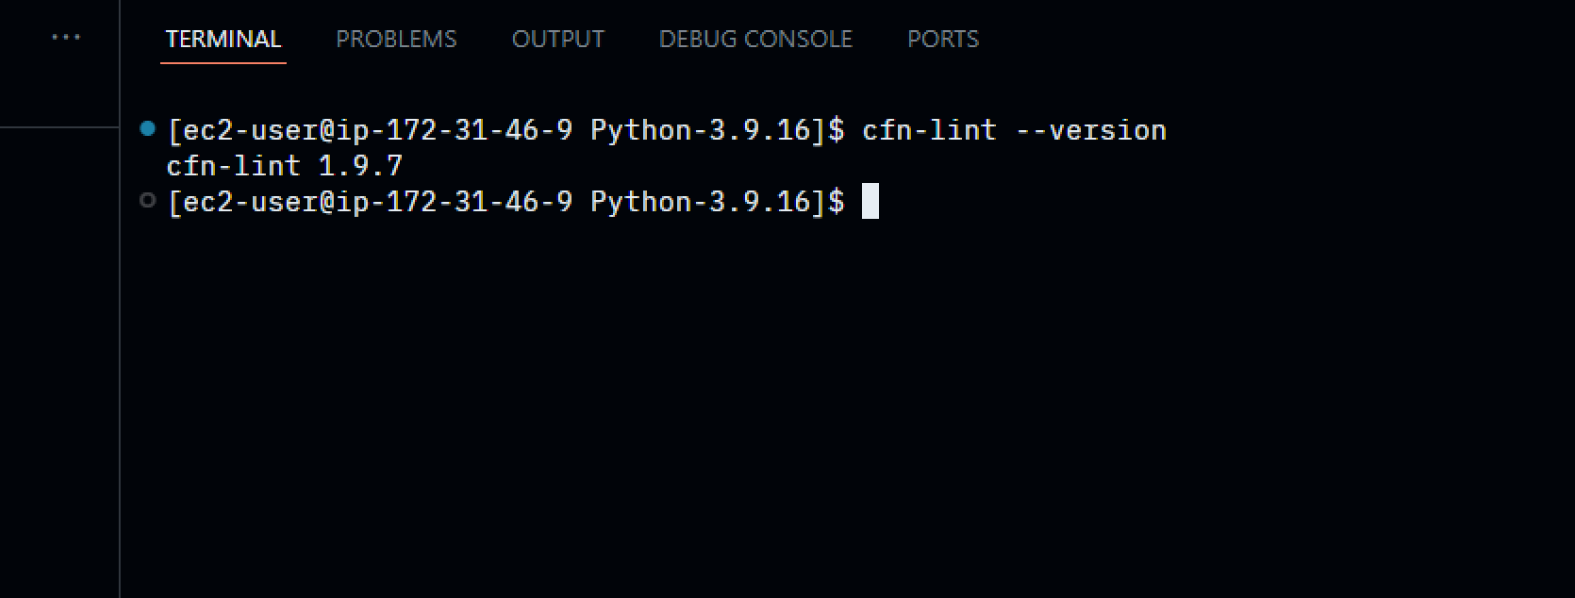
The ~/.venvs/cfn-lint venv is a separate environment only for running cfn-lint, not the CDK project’s venv. When you start building the project in section 3, you will create a different venv located within the project folder (cdk-workshop-02/venv). Do not initialize the project while you are still inside the cfn-lint venv.
The virtual environment is only activated in the current terminal. When you need to use cfn-lint in a new terminal, run the following command again (and deactivate when done):
- Set environment variables for AWS CLI.
Amazon Linux 2023 prioritizes IMDSv2. The command below generates an IMDSv2 token then uses that token to retrieve the EC2 region, without needing to lower the Instance Metadata Service security configuration.
TOKEN=$(curl -sS -X PUT \
  "http://169.254.169.254/latest/api/token" \
  -H "X-aws-ec2-metadata-token-ttl-seconds: 21600")

export ACCOUNT_ID=$(aws sts get-caller-identity --output text --query Account)
export AWS_REGION=$(curl -sS \
  -H "X-aws-ec2-metadata-token: ${TOKEN}" \
  http://169.254.169.254/latest/dynamic/instance-identity/document \
  | jq -r '.region')
export AWS_DEFAULT_REGION=${AWS_REGION}
export AZS=($(aws ec2 describe-availability-zones \
  --query 'AvailabilityZones[].ZoneName' \
  --output text \
  --region "${AWS_REGION}"))
Verify the retrieved values:
printf 'ACCOUNT_ID=%s\nAWS_REGION=%s\nAZS=%s\n' \
  "${ACCOUNT_ID}" "${AWS_REGION}" "${AZS[*]}"
Save the configuration to ~/.bash_profile, set the default region for AWS CLI, and reload the configuration:
echo "export ACCOUNT_ID='${ACCOUNT_ID}'" >> ~/.bash_profile
echo "export AWS_REGION='${AWS_REGION}'" >> ~/.bash_profile
echo "export AWS_DEFAULT_REGION='${AWS_REGION}'" >> ~/.bash_profile
printf 'export AZS=(%s)\n' "${AZS[*]}" >> ~/.bash_profile
aws configure set default.region "${AWS_REGION}"
source ~/.bash_profile
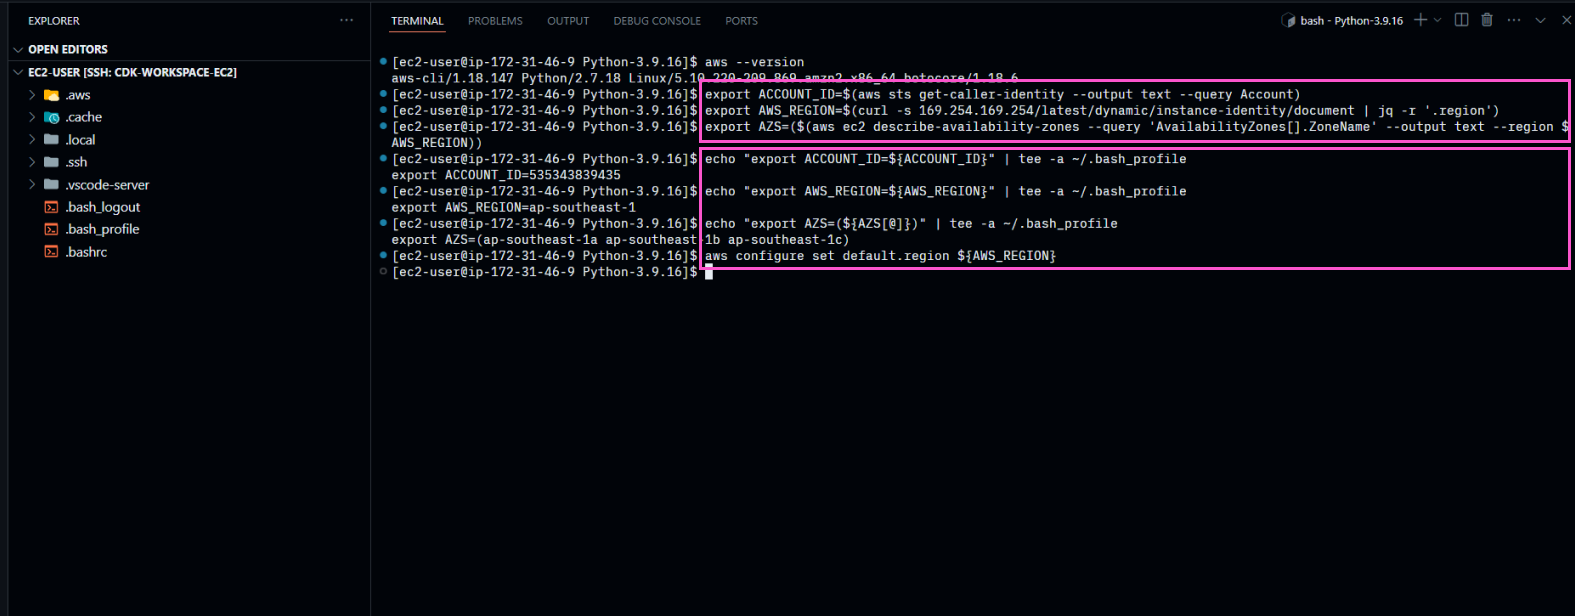
- Install NVM to manage Node.js. The AWS CDK CLI will be installed via npm in the next step.
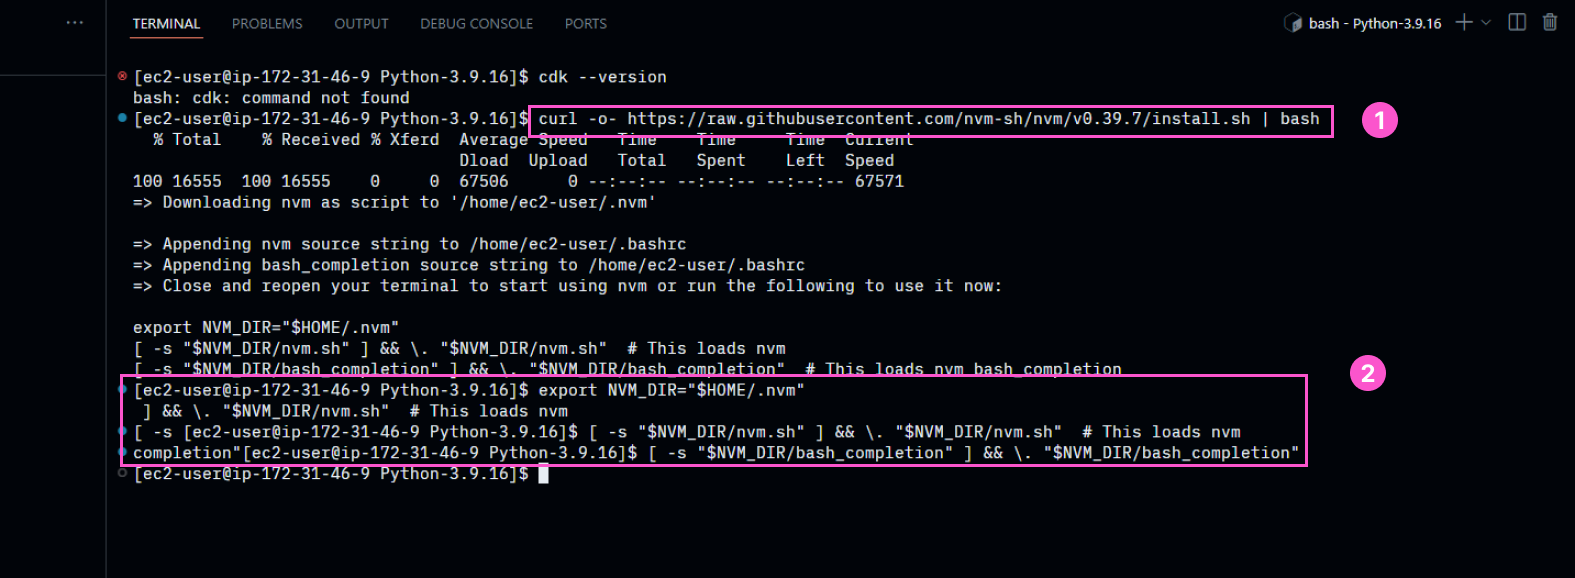
curl -o- https://raw.githubusercontent.com/nvm-sh/nvm/v0.39.7/install.sh | bash
source ~/.bashrc
- Install Node.js 24 (LTS version) and AWS CDK CLI globally. Check the commands before proceeding:
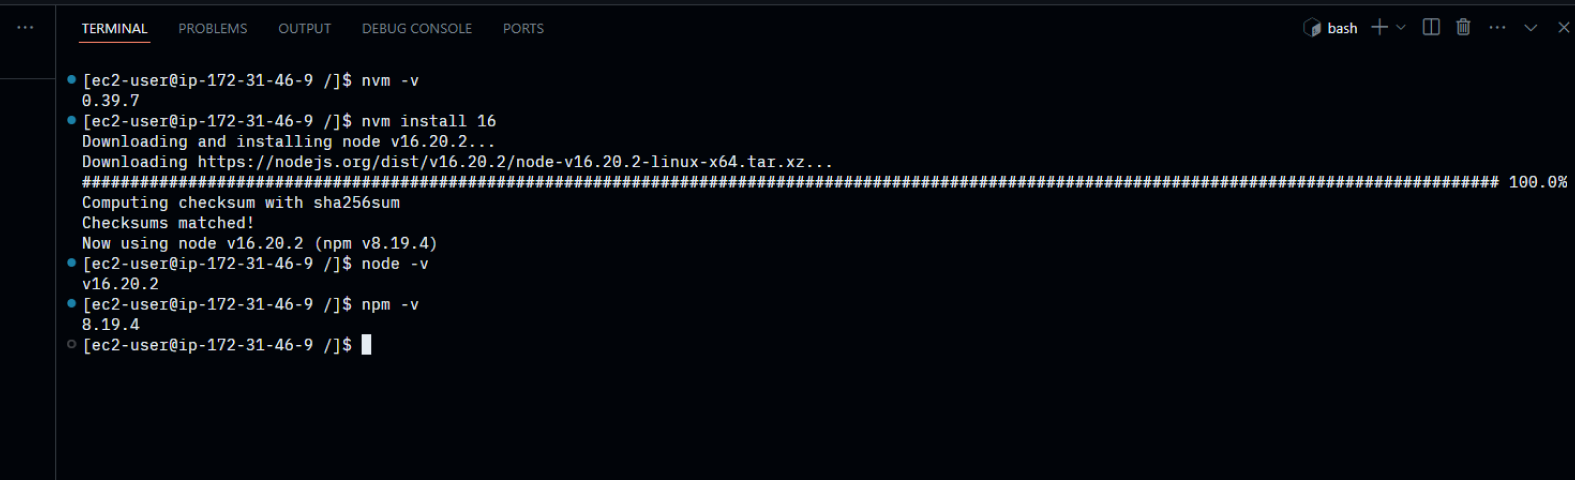
nvm install 24
nvm alias default 24
node -v
npm -v
npm install -g aws-cdk
cdk --version
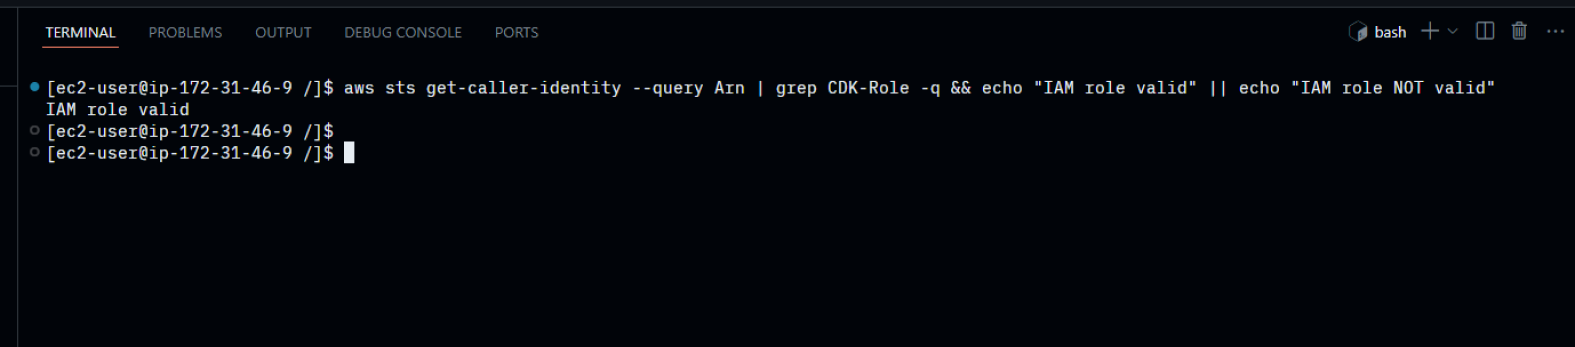
- Check that EC2 is using the correct attached IAM Role:
aws sts get-caller-identity --query Arn \
  | grep CDK-Role -q \
  && echo "IAM role valid" \
  || echo "IAM role NOT valid"
Environment Summary for Following Sections
From section 3 to section 6, the workshop shares the following environment model. Keep this in mind so commands always run correctly:
- Python:
python3.14(installed system-wide in step 7). Always create the project virtual environment usingpython3.14 -m venv. - Node.js + CDK CLI: installed via nvm with
nvm alias default 24, so every new terminal automatically hasnodeandcdkavailable. If you encountercdk: command not found, runsource ~/.bashrcthen checknvm current. - Project virtual environment: created in section 3 at
~/cdk-workshop-02/venv. This is whereaws-cdk-liband dependencies fromrequirements.txtare installed. - cfn-lint: located in a separate venv
~/.venvs/cfn-lint, isolated from the project’s venv.
Whenever you open a new terminal to run cdk commands (diff/deploy/destroy), always perform these 2 steps:
cd ~/cdk-workshop-02
source venv/bin/activate
If you do not activate the project’s venv, the cdk command will report a missing aws_cdk module error.